


Vanilla Pecan Tart
This post may contain affiliate links. Please read our disclosure policy.
This vanilla pecan tart will blow your mind! It’s rich, creamy, and full of pecan and real vanilla flavors!
This tart is made of delicious vanilla cream, a pecan praline paste, a creamy sugar-free caramel sauce, and a crispy pecan base. It has a lot of components but is rather easy to make.
You can enjoy this pecan pie any season, summer or winter and we can’t wait for you to try it!
For a better flavor when making vanilla pastries, we recommend you favor real vanilla beans. Even though vanilla beans tend to be more expensive, once you know how to use used or dried vanilla pods, they actually become the cheapest option. We love and recommend these Tahitian vanilla beans and Madagascar vanilla beans.
Once you used the vanilla beans and you have remaining vanilla pods, several options are available to you.
Place 5 to 10 used vanilla pods (fresh or dried) in a glass jar and soak them entirely in vodka. Close the jar and let it sit in the pantry for at least 3 months, shaking the jar about once every other week. Then, you can enjoy a large batch of homemade vanilla extract or let the used vanilla pods dry completely. Finally, blend them into a thin powder using a grinder. You'll be able to use it in any of your future favorite recipes.
Bon appétit!
Difficulty: ![]()
![]()
![]()
Prep time: 1 hr 15 mins / Cook time: 35 mins / Servings: 10 tartlets
- - - - - - - - - - - - - - - - - - - - - - - - - - -
Sugar-Free Caramel Sauce
¼ cup (55g) - Monk fruit sweetener
½ tbsp (7g) - Coconut sugar
½ cup (120ml) - Heavy cream
2 oz (56g) - Butter
1 pinch - Sea salt flakes
Vanilla Whipped Ganache
6 oz (170g) - White chocolate
1.5 oz (42g) - Water
2 tsp (6g) - Gelatin powder
3.5 oz (100g) - Heavy cream (hot)
9.7 oz (275g) - Heavy cream (cold)
2 tsp (7g) - Vanilla extract
½ tsp (1.5g) - Vanilla powder
Sablé Breton
3 - Egg yolks
3 oz (90g) - Butter
¼ cup (60g) - Xylitol
1 tsp (3g) - Sea salt flakes
¾ tsp (2.5g) - Baking powder
1⅓ cup (180g) - Flour
Pecan Praline Paste
¼ cup (55g) - Monk fruit sweetener
½ tsp (2g) - Five spice
1 lb (454g) - Pecans
1 - Egg white
Crispy Nut Praline
1 oz (28g) - Pecan praline paste
⅛ cup (15g) - Feuilletine
- - - - - - - - - - - - - - - - - - - - - - - - - - -
We advise that you prepare all the above ingredients before starting.
You will typically need: a scale, measuring cups, mixing bowls.
Sugar-Free Caramel Sauce
1 - Add the monk fruit sweetener and coconut sugar to a saucepan. Place over low-medium heat and slowly melt while continuously mixing with a silicone spatula.
Tip: All-Clad is the gold standard for professional quality stainless steel cookware. If you want to learn more about All-Clad, check out our detailed article "The Ultimate Buyer's Guide To All-Clad".
For more recommended bakeware and cookware, check out our article: "The Best Non-Toxic Pots & Pans: Our Must-Have Cookware List".
2 - Start by pouring ⅓ of the heavy cream into the saucepan and stir until well combined. Then, add the remaining heavy cream to the saucepan and bring it to a boil.
3 - Transfer the sauce into a clean bowl and mix in the butter using a spatula. Then, mix in the sea salt flakes, cover the caramel sauce with plastic wrap and refrigerate for at least 2 hours.
Vanilla Whipped Ganache
1 - Add the white chocolate to a large mixing bowl and set it aside.
Tip: We store our ingredients in these mixing bowls and mini glass bowls from Duralex while cooking. We love Duralex for their quality products and low prices!
2 - Add the water to a small bowl and mix in the gelatin powder. Then, set it aside to bloom.
3 - Add the 3.5 oz (100g) of heavy cream to a saucepan (or like us a saucier pan) and bring it to a boil.
4 - Pour the boiling heavy cream over the white chocolate and emulsify with a silicone spatula until all the chocolate has melted and the cream is shiny and homogeneous.
5 - Pour the cold heavy cream over the white chocolate mixture and mix until well combined with your spatula.
6 - Next, add the vanilla powder as well as the vanilla extract and mix until well incorporated.
7 - Finally, melt the gelatin in the microwave for about 10 seconds and mix it into your ganache. Cover with plastic wrap and refrigerate for at least 2 hours.
Sable Breton
1 - Prepare your dry ingredients by whisking together the flour, baking powder, and salt in a mixing bowl. Then, set those aside.
2 - Separate the egg yolks from the egg whites. Place the egg yolks in a bowl and keep the egg whites in the fridge for another recipe.
Tip: We advise you to store the egg whites in a small food container with a lid on to allow them to last longer.
3 - Pour the butter and the sugar into a stand mixer bowl. Then, mix until the butter becomes nice and creamy using the paddle attachment and on medium speed.
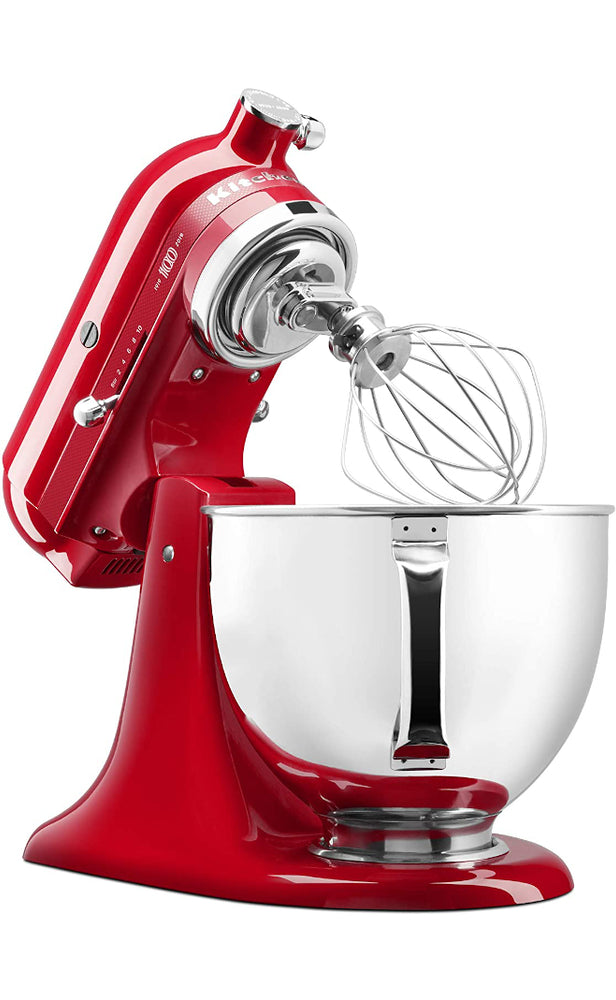
Tip: The KitchenAid Artisan Design Series and the KitchenAid Professional 600 Series are superstars among stand mixers and will look amazing in your kitchen!
For more information, check out our detailed article "The Best KitchenAid Mixers & Blenders".
4 - While mixing, add the egg yolks into the butter. Keep mixing until fully incorporated.
5 - Stop the mixer and add all the flour mix to the butter. Then, turn the mixer back on and mix the flour on low speed.
Tip: Mix until just combined. The dough should be a little crumbly but hold together when pressing it.
6 - Place the dough on a sheet of plastic wrap. Fold one side over the dough and flatten it with your hands. Repeat on the opposite side. Finish folding the plastic wrap in a square shape like so.
7 - Roll out the dough with a rolling pin (marble/wood) in order to push it outward like so. Next, place the dough in the refrigerator for 10 minutes.
Tip: This process will allow the dough to set faster and will help you roll it out later.
8 - Place the dough between 2 sheets of parchment paper and roll it out until ¼ inch (5 mm) thick.
Tip: Adding flour to some types of dough results in a crumbly texture. Rolling between 2 sheets of parchment paper prevents this from happening.
9 - Remove the top parchment paper and cut a few bands out of the dough using a bench knife.
Tip: You can find our recommended bench knives here: metal/plastic/wood, and plastic scrapers here.
10 - For the bottom of the tart, place a tart ring over the dough and press down to cut it. Then, remove the tart ring and place the dough back in the refrigerator for about 10 minutes.
Tip: This allows the dough to firm up. That way, it will be easier for you to mold your tarts.
11 - Place the tart ring on a silicone mat (with a baking tray underneath), and gently lay the bottom of the tart in the cake ring first. Next, mold the edges of the tart ring, one band of dough at a time.
12 - Cut the excess dough using a sharp knife. Then, place it back in the fridge for at least 2 hours.
Tip: Sabatier knives are excellent french blades we recommend for professional and home cooks.
13 - Meanwhile, preheat your oven at 350°F (176°C). Then, transfer the tarts into the oven and bake for about 15 minutes.
Pecan Praline Paste
1 - Preheat your oven at 400°F (200°C).
2 - Into a large mixing bowl, whisk together the monk fruit sweetener, five-spice, and egg white until homogeneous.
3 - Add the pecans to the bowl and gently stir with a spatula until well combined.
4 - Transfer the pecans to a baking tray lined with parchment paper and spread them evenly into a single layer. Then, bake at 400°F (200°C) for about 10 minutes.
5 - Once baked, break them down into small pieces and save a few of them for decoration.
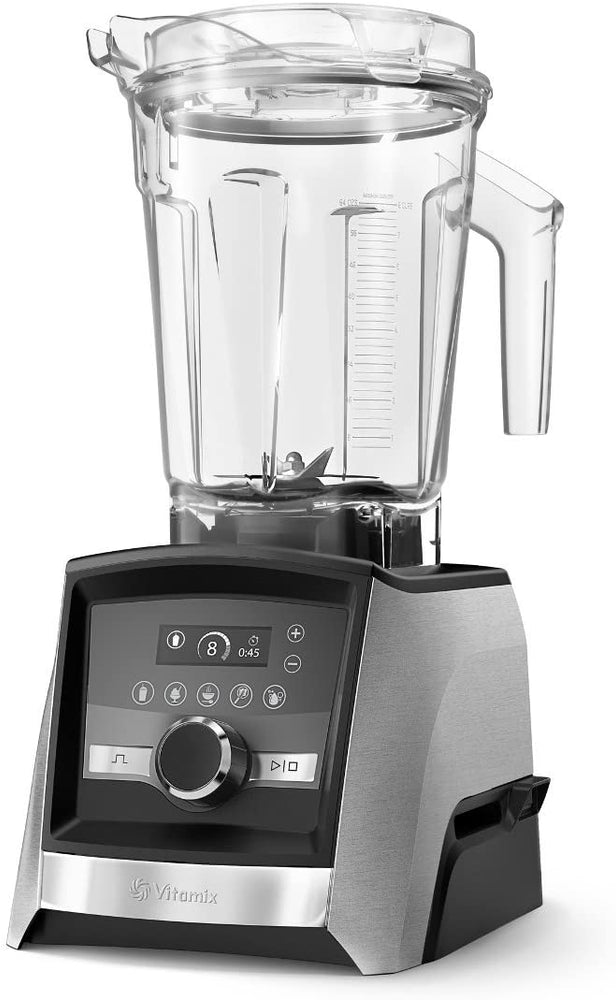
6 - Transfer the rest of them into a high-speed blender and blend until smooth. Transfer the pecan praline paste into a clean bowl and set it aside.
Tip: You can store this spread in a glass jar for up to 3 months. Place the jar into dry storage and enjoy the spread with fresh bread, scones, or even cakes.
Crispy Nut Praline
1 - Combine the pecan praline paste and the feuilletine together and stir until well combined.
Assembling the Vanilla Pecan Tarts
1 - Fill up ¾ of the tarts with the crispy nut praline and spread evenly.
2 - Transfer the vanilla whipped ganache to a large mixing bowl and whisk vigorously until smooth and fluffy.
Tip: You may also use a hand mixer. We recommend this 7-speed hand mixer from KitchenAid for its quality and elegant design.
3 - Place the whipped ganache into a piping bag with a Saint-Honoré pastry tip. Then, fill up the remaining space on the tarts. Using an offset spatula, push the cream to the edges of the tart and make a little trench.
4 - Fill the trench with caramel sauce and pipe the whipped ganache in zigzag like so.
5 - Make a little piping bag by folding a piece of parchment into a cone and fill it with pecan praline paste. Learn how here.
6 - Decorate the top of the tart with the praline paste and a few chunks of pecan.
7 - Enjoy!
Watch our video for more details!
- - - - - - - - - - - - - - - - - - - - - - - - - - -
Disclaimer: baking/cooking times vary according to each appliance. Make sure to always control halfway through for success.
- - - - - - - - - - - - - - - - - - - - - - - - - - -
🎬 Everything we used for this recipe:
🍶 Kitchenware: Coming soon!
🍳 Ingredients: Coming soon!
- - - - - - - - - - - - - - - - - - - - - - - - - - -
Enjoy our content? Support us! 💖
The information provided in this recipe is not nutritional or medical advice. Please read our disclaimer.