


Pita Bread
This post may contain affiliate links. Please read our disclosure policy.
This homemade pita bread recipe puffs up beautifully to form that perfect inside pocket. In this recipe, we are showing you how to cook pita bread without an oven!
This delicious flatbread is so easy to make, we found it perfect to make pita sandwiches. If you are having trouble with your pitas because they don’t puff, that’s ok too! Use your pita as a pizza crust, it is truly delicious!
But why did my pita bread not puff up?
After many batches, we were able to identify all of the tips and tricks to get that beautiful puff and perfect pocket in the center.
Make sure your ingredients are fresh and your yeast/flour is not expired.
Do not hesitate to flour your work surface before rolling the dough. If the dough sticks too much, the pita may tear, causing steam to escape when cooking, therefore not puffing properly.
Check out our other delicious bread recipes:
Bon appétit!
Difficulty: ![]()
![]()
![]()
Prep time: 25 mins / Cook time: 15 mins / Servings: 10 pitas
- - - - - - - - - - - - - - - - - - - - - - - - - - -
Pita Bread
1 cup (240g) - Water
2 ½ tsp (10g) - Dry yeast
1 tbsp (15g) - Xylitol
1 tsp (6g) - Sea salt
½ cup (75g) - Whole-wheat flour
2 cups (290g) - All-purpose flour
1½ tbsp (25g) - Olive oil
- - - - - - - - - - - - - - - - - - - - - - - - - - -
We advise that you prepare all the above ingredients before starting.
You will typically need: a scale, measuring cups, mixing bowls.
Pita Bread
1 - Pour the water into a bowl and microwave it for about 30 seconds. Next, add the yeast to the warm water. Mix until well combined using a fork, and set aside.
2 - Add the xylitol, salt, whole-wheat flour, and all-purpose flour to a stand mixer bowl and whisk manually until fully combined.
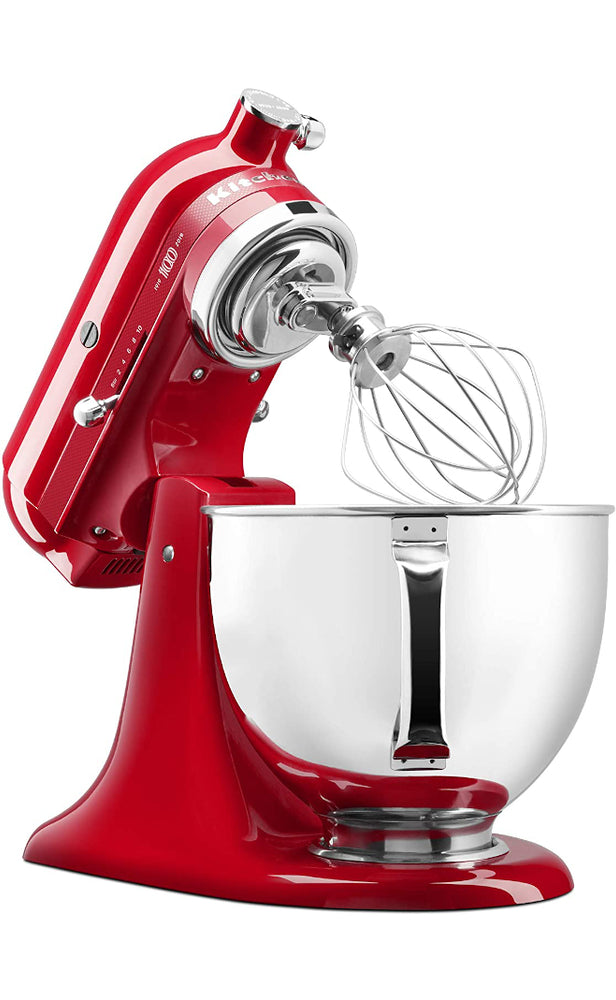
Tip: The KitchenAid Artisan Design Series and the KitchenAid Professional 600 Series are superstars among stand mixers and will look amazing in your kitchen!
For more information, check out our detailed article "The Best KitchenAid Mixers & Blenders".
3 - Add the yeast mixture and olive oil to the flour and knead the dough for 5 minutes using the hook attachment.
4 - Next, grease your work surface and a bowl scraper with olive oil (or baking spray). Then, transfer the dough to the oiled surface and shape it into a smooth ball.
5 - Grease a clean bowl and transfer the dough into it. Cover the pita dough with food wrap (or a towel) and let it proof for 2 hours.
Tip: We store our ingredients in these mixing bowls and mini glass bowls from Duralex while cooking. We love Duralex for their quality products and low prices!
6 - Deflate the dough to release the gas by pressing it down. Next, transfer the dough to a lightly floured surface and divide it into 10 equal pieces. Shape each of them into balls, cover them with a towel and let them rest for 30 minutes.
Tip: We love to work our dough on this reversible cutting board with integrated hand grips from John Boos.
7 - Flour your work surface and roll out each ball into a 7-in (18 cm) diameter disk.
8 - Transfer the disks to a sheet of parchment paper, cover with a towel, and let them proof for 45 minutes.
9 - Preheat a cast-iron skillet on medium heat. You know it’s ready when you add a drop of water and it sizzles and evaporates instantly. Once hot, place a disk of dough in the center of the skillet and allow the pita to cook for about 3 to 5 minutes. Make sure to carefully flip the pita every 30 seconds using a silicone spatula to help it rise and create a beautiful pocket.
Tip: Le Creuset is one of the best brands money can buy. If you want to learn more about Le Creuset, check out our detailed article "A Buyer's Guide To Le Creuset".
10 - Transfer the pitas to a cooling rack and allow them the cool for a few minutes.
11 - Enjoy!
Watch our video for more details!
- - - - - - - - - - - - - - - - - - - - - - - - - - -
Disclaimer: baking/cooking times vary according to each appliance. Make sure to always control halfway through for success.
- - - - - - - - - - - - - - - - - - - - - - - - - - -
🎬 Everything we used for this recipe:
🍶 Kitchenware: Coming soon!
🍳 Ingredients: Coming soon!
- - - - - - - - - - - - - - - - - - - - - - - - - - -
Enjoy our content? Support us! 💖
The information provided in this recipe is not nutritional or medical advice. Please read our disclaimer.