


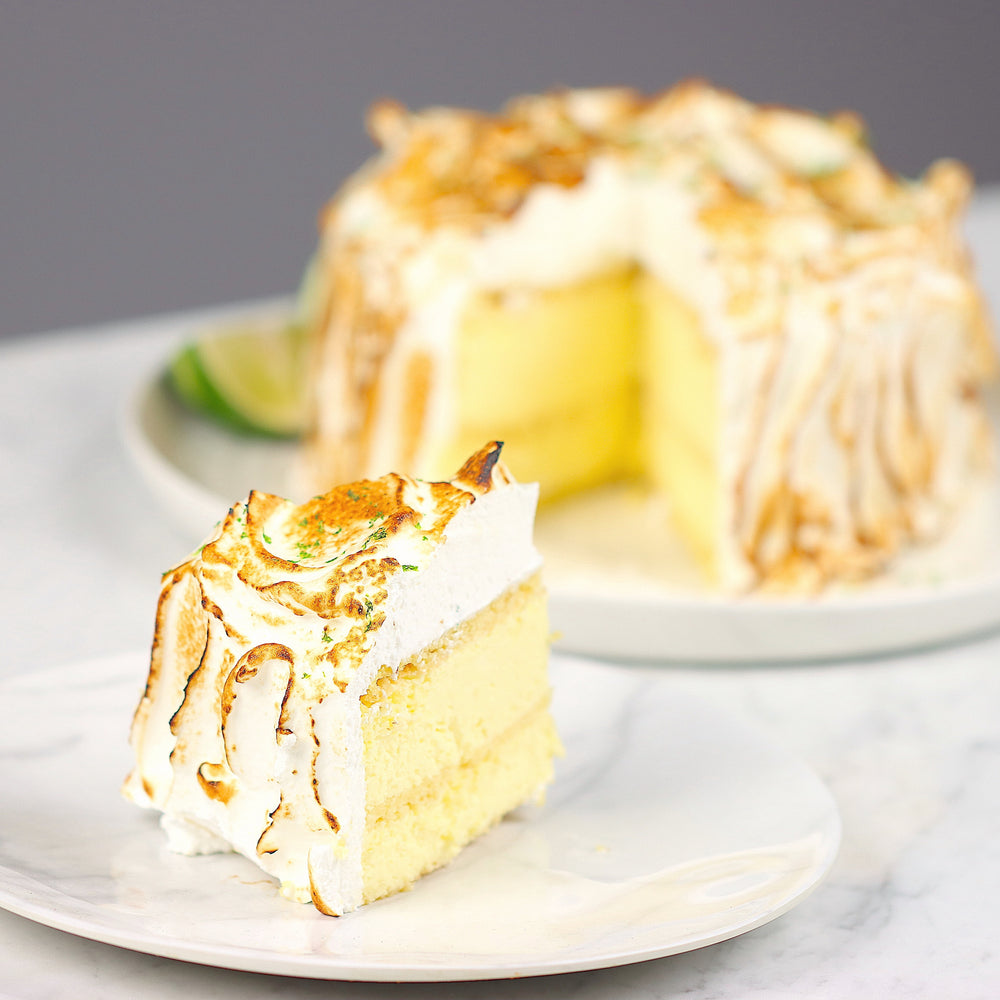


Lemon Meringue Mousse Cake
This post may contain affiliate links. Please read our disclosure policy.
If you love lemon desserts, then you'll fall in love with this amazing lemon mousse cake recipe!
Made with a delicious gluten-free almond cake, a sweet Italian meringue, and a light lemon mousse, this recipe makes for a luxurious and impressively delicious dessert that is perfect for any occasion.
Bon appétit!
Difficulty: ![]()
![]()
![]()
Prep time: 1 hr 30 mins / Cook time: 30 mins / Servings: 8 people
- - - - - - - - - - - - - - - - - - - - - - - - - - -
Lemon Diplomat Cream
0.63 oz (18ml) - Water
1 tsp (3g) - Gelatin powder
4.6 oz (130ml) - Lemon juice
3.1 oz (90g) - Xylitol
3 - Eggs
6.25 oz (180g) - Butter
8.8 oz (250ml) - Heavy cream
Gluten-Free Genoise Cake
5 - Eggs
5.25 oz (150g) - Xylitol
4.75 oz (135g) - Butter
5 oz - (140g) - Almond flour
1 tsp (5g) - Baking powder
Italian Meringue
8.5 oz (240g) - Sugar
2.8 oz (80ml) - Water
4.2 oz (120g) - Egg white
1 - Lime
- - - - - - - - - - - - - - - - - - - - - - - - - - -
We advise that you prepare all the above ingredients before starting.
You will typically need: a scale, measuring cups, mixing bowls.
Lemon Diplomat Cream
1 - Mix the water and gelatin powder into a small bowl and set it aside.
Tip: We store our ingredients in these mixing bowls and mini glass bowls from Duralex while cooking. We love Duralex for their quality products and low prices!
2 - Whisk the lemon juice, xylitol, and eggs together in a saucepan (or like us a saucier pan). Place the lemon custard over medium heat and slowly bring it to a boil while continuously whisking.
Tip: All-Clad is the gold standard for professional quality stainless steel cookware. If you want to learn more about All-Clad, check out our detailed article "The Ultimate Buyer's Guide To All-Clad". For more recommended bakeware and cookware, check out our article: "The Best Non-Toxic Pots & Pans: Our Must-Have Cookware List".
3 - When cooked, remove it from the heat. Melt the gelatin in the microwave and whisk it into the custard.
4 - Once homogeneous, add the butter and whisk vigorously until well incorporated.
Tip: You may also use a hand blender for this task: our must-have hand blender is the Braun Multiquick Technology.
5 - Transfer the lemon cream to a food container and refrigerate it for about 6 hours.
Gluten-Free Genoise Cake
1 - Preheat the oven to 340°F (170°C).
Crack the eggs into a large mixing bowl, add the xylitol and whisk with an electric mixer until light and fluffy.
2 - Melt the butter and whisk it in the egg mixture.
3 - Add the almond flour and baking powder to the batter, and whisk until everything is well combined.
4 - Line a baking sheet with parchment paper and pour the cake batter over it. Spread it evenly using an offset spatula and bake it at 340°F (170°C) for about 15 minutes.
5 - When baked, let it cool completely at room temperature. Then, flip it upside down and gently peel the parchment paper off.
6 - Place the cake ring that you are going to use to make the mousse cake on top of the cake and press it down to cut the cake. Repeat twice to get 3 disks of cake and set them aside.
Assembling The Mousse Cake
1 - Pour the 8.8 oz (250g) of heavy cream into a large mixing bowl. Then, whip it until stiff peaks using an electric mixer.
2 - Soften the lemon curd in another mixing bowl using a silicone spatula. Then, add half of the whipped cream. Next, gently mix them together with your spatula. Finally, mix in the rest of the heavy cream.
3 - Line a plate with parchment paper and place the cake ring over it. Add one cake disk, then half of the lemon diplomat cream, then another cake disk, then the rest of the diplomat cream, and finally the last cake disk. Once the cake is assembled, place it in the freezer overnight.
The next day...
Italian Meringue
1 - Add the egg whites to a stand mixer bowl and set it aside.
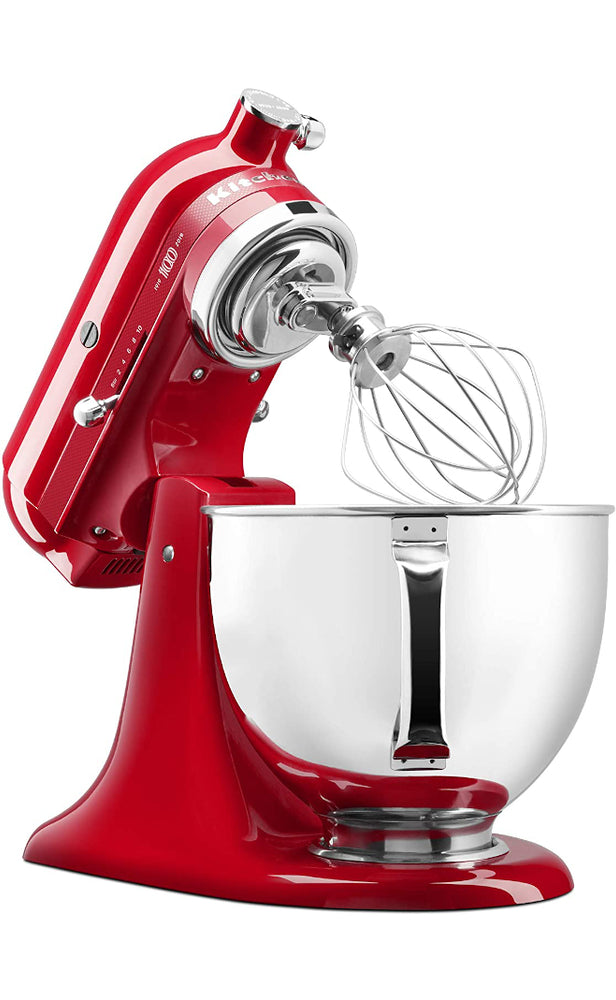
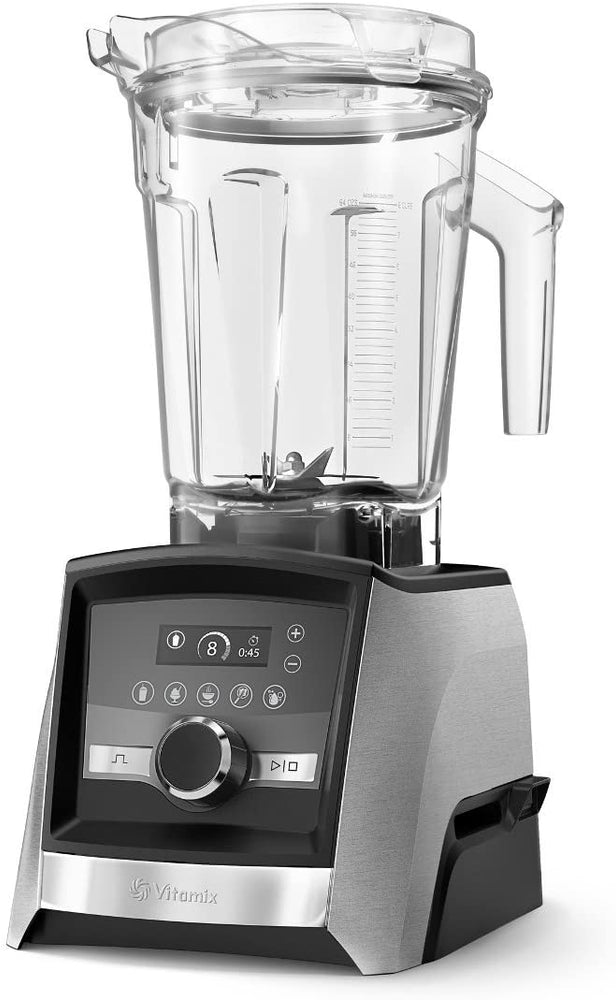
Tip: The KitchenAid Artisan Design Series and the KitchenAid Professional 600 Series are superstars among stand mixers and will look amazing in your kitchen! For more information, check out our detailed article "The Best KitchenAid Mixers & Blenders".
2 - Combine the 8.5 oz (240g) of sugar and the water into a saucepan and place it over medium heat. Cook the syrup until the temperature reaches 244°F (118°C).
Tip: We recommend using a good kitchen thermometer for accuracy.
3 - When the syrup reaches 230°F (110°C), start whipping the egg whites at high speed using the whisk attachment.
4 - Next, when the syrup is at the right temperature (244°F (118°C)), drizzle it slowly into the egg whites between the side of the bowl and the whisk while continuously whipping at high speed. Once you added all the syrup, whisk until the meringue is at room temperature.
Finishing The Mousse Cake
1 - Raise the frozen mousse cake by placing it on a small ramekin. Then, heat the cake ring using a torch until the ring falls.
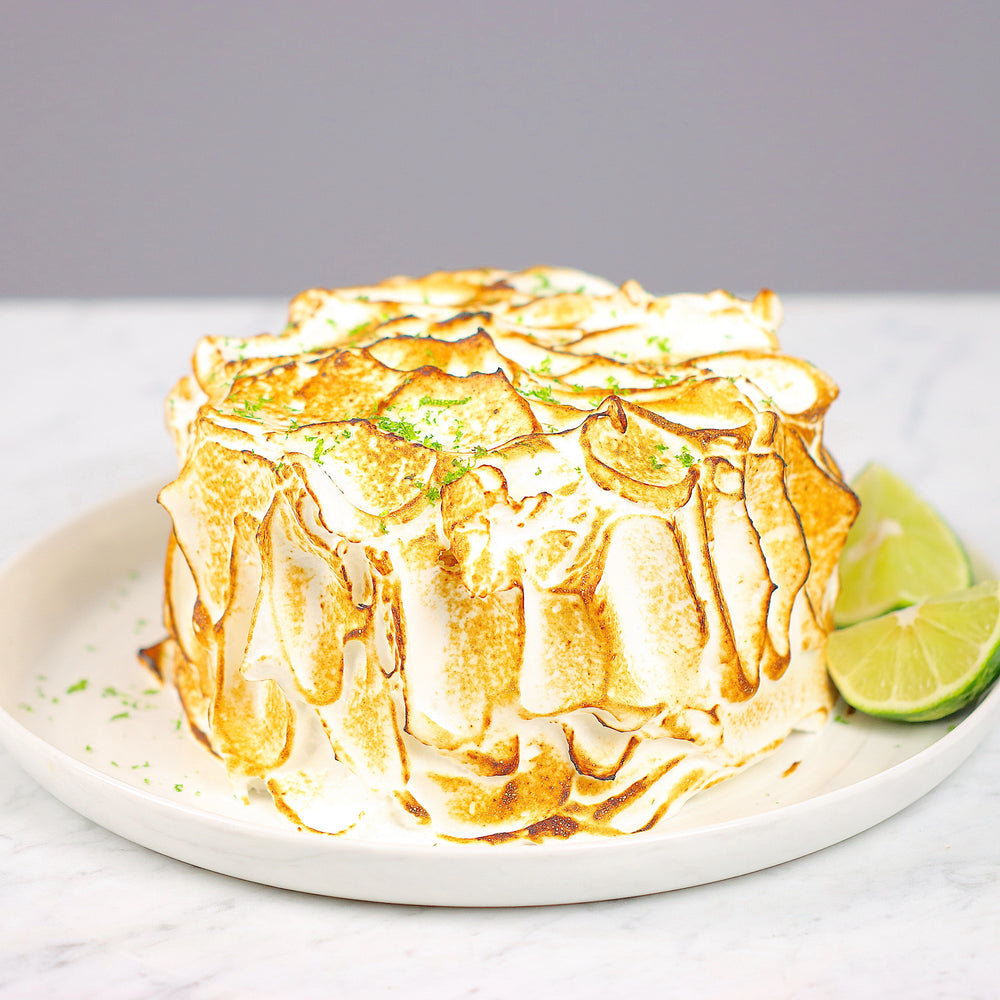
2 - Transfer the cake to a plate. Spread the meringue on the top and around the cake using an offset spatula. Next, gently press the meringue with the spatula, and lift it to create a beautiful design.
3 - Finally, torch the meringue to your desire and zest a lime on top of the cake.
Tip: Let the cake sit at room temperature for about 90 minutes before digging into it!
4 - Enjoy!
Watch our video for more details!
- - - - - - - - - - - - - - - - - - - - - - - - - - -
Disclaimer: baking/cooking times vary according to each appliance. Make sure to always control halfway through for success.
- - - - - - - - - - - - - - - - - - - - - - - - - - -
🎬 Everything we used for this recipe:
🍶 Kitchenware: Coming soon!
🍳 Ingredients: Coming soon!
- - - - - - - - - - - - - - - - - - - - - - - - - - -
Enjoy our content? Support us! 💖
The information provided in this recipe is not nutritional or medical advice. Please read our disclaimer.