


French Croissants
This post may contain affiliate links. Please read our disclosure policy.
Who doesn't love the delicious smell of freshly baked croissants? These croissants are flaky, buttery, have a glossy crispy exterior, and a soft and rich inside, which makes them the perfect breakfast!
In today's video, we are sharing with you the key to making perfect french croissants! This easy-to-follow guide will show you how to make croissants like a chef, step by step!
We can't wait for you to try this tasty croissant recipe!
Bon appétit!
Difficulty: ![]()
![]()
![]()
Prep time: 40 mins / Cook time: 20 mins / Servings: 10 croissants
- - - - - - - - - - - - - - - - - - - - - - - - - - -
Croissants
4.9 oz (140g) - Milk
2½ tsp (10g) - Dry yeast
2½ tsp (10g) - Himalayan salt
1.7 oz (50g) - Sugar
17.6 oz (500g) - Bread flour
4.9 oz (140g) - Water
1¼ tsp (9g) - Manuka Honey
2.6 oz (75g) - Butter
10.6 oz (300g) - Butter
Egg wash
1 - Egg yolk
1 tbsp (15ml) - Milk
- - - - - - - - - - - - - - - - - - - - - - - - - - -
We advise that you prepare all the above ingredients before starting.
You will typically need: a scale, measuring cups, mixing bowls.
Croissants
1 - Pour the milk into a ramekin and warm it up for 30 seconds into the microwave (or until lukewarm). Stir in the dry yeast with a spoon to combine, and set aside.
2 - Into a large stand mixing bowl, whisk together all the dry ingredients: salt, sugar, and bread flour.
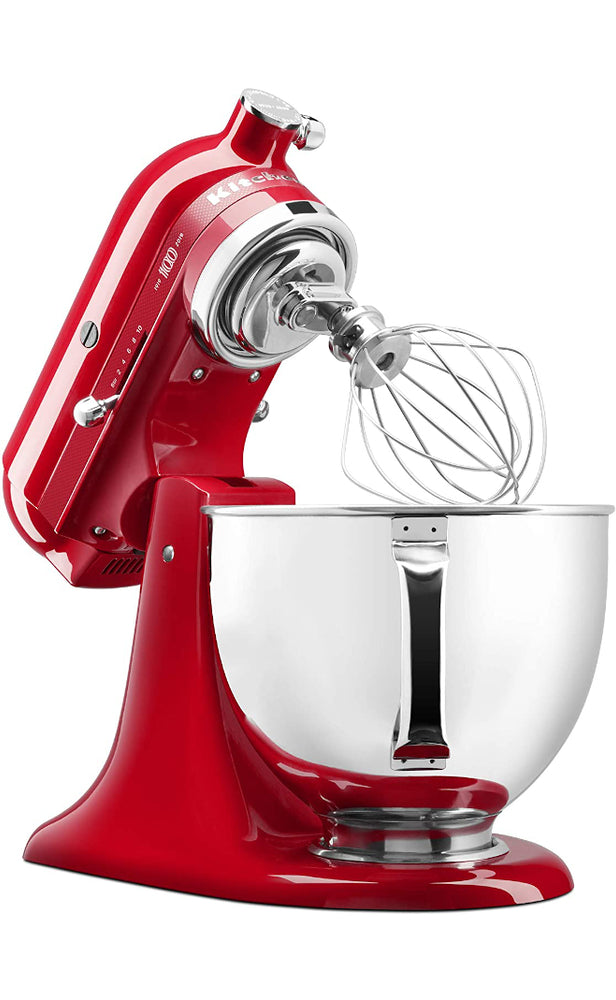
Tip: The KitchenAid Artisan Design Series and the KitchenAid Professional 600 Series are superstars among stand mixers and will look amazing in your kitchen!
For more information, check out our detailed article "The Best KitchenAid Mixers & Blenders".
3 - Add the water, yeast mixture, and honey to the dry ingredients. Then, knead using the hook attachment for 5 minutes at medium speed.
4 - When the dough no longer sticks to the sides of the bowl, slowly add the 2.6 oz (75g) of butter and knead for another 5 to 8 minutes (or until the butter is fully incorporated).
5 - Place the dough on a clean work surface and shape it into a smooth ball. Return it to the mixing bowl, cover with a towel and let it proof in a warm spot for 30 minutes.
6 - Transfer the dough to an unfloured work surface and deflate it by pushing it down with your hands and shape it back into a smooth ball.
7 - Grease a clean bowl with baking spray and place the dough in it. Cover with plastic wrap and refrigerate overnight.
Tip: We store our ingredients in these mixing bowls and mini glass bowls from Duralex while cooking. We love Duralex for their quality products and low prices!
The next day...
8 - Transfer the chilled dough onto a lightly floured surface and roll out the dough into a 13.7 x 9.8 in (35 x 25 cm) rectangle using a rolling pin (marble/wood).
Tip: We love to work our doughs on this reversible cutting board with integrated hand grips from John Boos.
9 - Next, transfer the dough to a baking tray lined with parchment paper (or a silicone mat). Cover with another piece of parchment paper (or plastic wrap) and refrigerate for 30 minutes.
10 - Meanwhile, pre-fold a parchment paper in a 7.8 x 5.9 in (20 x 15 cm) rectangle. Then, re-open it and place the 10.6 oz (300g) of butter in the center. Fold the parchment paper back into a rectangle and roll out the butter to fit the rectangle shape perfectly using a rolling pin. Finally, place the rectangle of butter back into the refrigerator for 20 minutes
11 - Place the dough on a floured surface and slightly elongate the rectangle using a rolling pin.
12 - Place the butter in the center of the dough and fold over each side of the dough to cover the top of the butter. Then, press the sides of the dough together to completely seal the butter in.
13 - Roll out the dough into a longer rectangle about ½ inch thick. For the first fold, we are going to make a "double fold" (also called "book fold"). Fold each side of the dough over to meet in the middle. Then, fold one side over to meet the other side. Next, cut the folded sides with a sharp knife. Cover the dough with plastic wrap and refrigerate for at least 90 minutes.
Tip: We recommend you use a Santoku knife for this task. We love Japanese knives and recommend this quality kit from GLOBAL for home and professional chefs. We also love this reversible cutting board with integrated hand grips from John Boos.
14 - For the last folding, rotate the dough 90 degrees and make a single turn. To do this, fold one side down to ⅓ of the dough and fold the other side over. Cut the folded sides, wrap in plastic wrap again and refrigerate for another 90 minutes.
Tip: See the video for more details about the complete lamination process.
15 - Roll out the dough into a 15 x 9.8 in (40 x 30 cm) rectangle. Next, using a ruler and a sharp paring knife, make a small notch every 3.1 in (8 cm) on one of the longer sides of the rectangle.
16 - Next, make a small notch every 3.1 in (8 cm) on the opposite side and with an offset of 1.57 in (4 cm) from the edge.
17 - Finally, cut the triangles using a sharp and long chef's knife (or pizza wheel). They should be isosceles triangles.
Tip: Use the ruler to ensure a straight cut.
18 - Shaping the croissants one at a time, gently elongate the triangles with your fingers, make a little notch on the smaller side, and gently but tightly roll the croissants.
19 - Transfer the croissants to a baking tray lined with parchment paper. Then, cover the croissants with a towel and let them proof in a warm spot for 2 hours.
Tip: You can place up to 6 croissants per half-sheet tray.
Egg Wash
1 - Preheat your oven to 355°F (180°C).
2 - Into a small bowl, whisk together one egg yolk with a tablespoon of milk until fully incorporated.
3 - Brush the croissants (the top only) with egg wash using a pastry brush (boar/silicone) and bake at 355°F (180°C) for about 20 minutes. Once ready, let them cool at room temperature for a few minutes (or as long as you can wait!).
4 - Enjoy!
Watch our video for more details!
- - - - - - - - - - - - - - - - - - - - - - - - - - -
Disclaimer: baking/cooking times vary according to each appliance. Make sure to always control halfway through for success.
- - - - - - - - - - - - - - - - - - - - - - - - - - -
🎬 Everything we used for this recipe:
🍶 Kitchenware: Coming soon!
🍳 Ingredients: Coming soon!
- - - - - - - - - - - - - - - - - - - - - - - - - - -
Enjoy our content? Support us! 💖
The information provided in this recipe is not nutritional or medical advice. Please read our disclaimer.