


100% Chocolate Brioche Bread
This post may contain affiliate links. Please read our disclosure policy.
Our Fluffy Brioche Bread recipe has become one of our most popular recipes. So today we are pleased to share this delicious chocolate brioche bread version!
This 100% chocolate brioche bread is so soft, fluffy, and buttery!
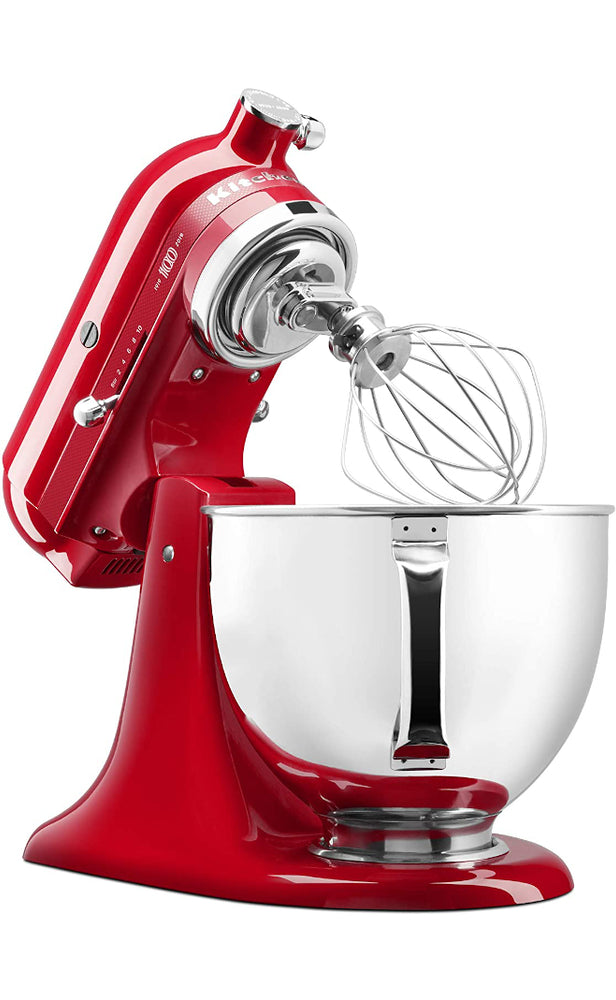
We know that brioche dough is known to be relatively sticky and difficult to knead by hand. Therefore, for homogeneous and successful kneading, we recommend that you use a stand mixer.
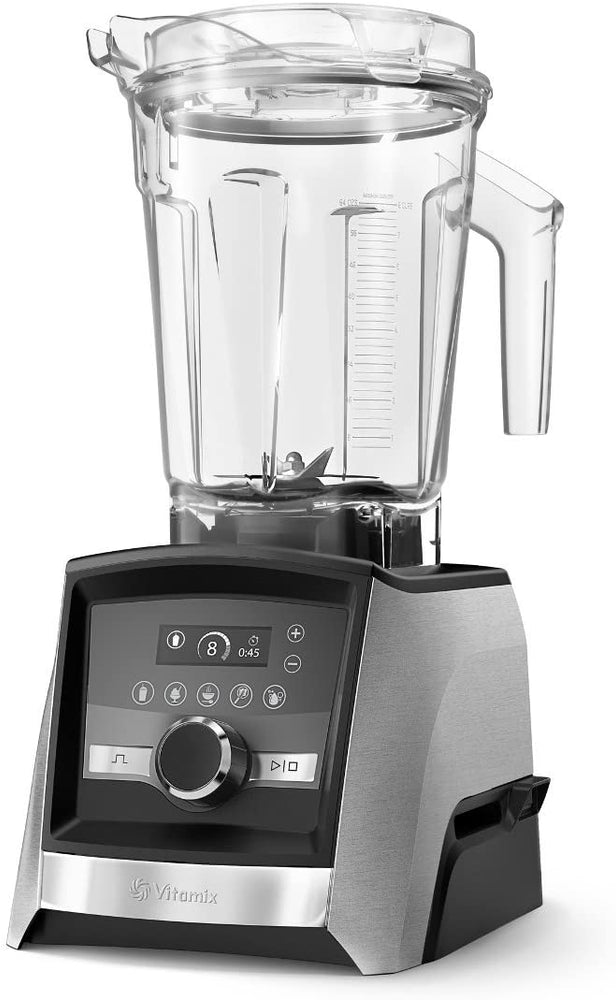
For more information, check out our detailed article "The Best KitchenAid Mixers & Blenders".
We truly can't wait for you and your family to try to make this chocolate brioche bread recipe!
Bon appétit!
Difficulty: ![]()
![]()
![]()
Prep time: 40 mins / Cook time: 40 mins / Servings: 1 loaf & 6 braids
- - - - - - - - - - - - - - - - - - - - - - - - - - -
Brioche Dough
6 - Eggs
1.7 oz (50ml) - Milk
2 tsp (8g) - Dry yeast
5.6 oz (160g) - Dark chocolate
19.7 oz (560g) - Flour
1.7 oz (50g) - Xylitol
1 oz (30g) - Cocoa powder
2 tsp (10g) - Sea salt
11 oz (312g) - Butter
Egg Wash
1 - Egg yolk
1 tbsp (15ml) - Milk
- - - - - - - - - - - - - - - - - - - - - - - - - - -
We advise that you prepare all the above ingredients before starting.
You will typically need: a scale, measuring cups, mixing bowls.
Brioche Dough
1 - Crack all the eggs into a measuring cup, and set them aside.
2 - Heat the milk in the microwave for 20 seconds, then stir in the dry yeast until well combined before allowing it to rest for 5 minutes.
3 - Next, roughly chop the dark chocolate using a sharp knife and set it aside.
Tip: We recommend you use a chef's knife for this task. We love Japanese knives and recommend this quality kit from GLOBAL for home and professional chefs. We also love this reversible cutting board with integrated hand grips from John Boos.
4 - Then, add the flour, xylitol, cocoa powder, and sea salt to a stand mixer bowl and give it a quick mix with a whisk.
Tip: The KitchenAid Artisan Design Series and the KitchenAid Professional 600 Series are superstars among stand mixers and will look amazing in your kitchen.
For more information, check out our detailed article "The Best KitchenAid Mixers & Blenders".
5 - Next, pour the yeast mixture into the mixing bowl and start kneading at low speed using the hook attachment to incorporate the yeast into the flour.
6 - With the motor still running, slowly incorporate the eggs, pouring in one at a time.
7 - Once all the eggs have been added, allow the stand mixer to knead the dough for another 8 minutes.
8 - Once the dough is homogeneous, turn the speed up to medium-high and add the room temperature butter, one cube at a time. Once all the butter has been added, allow the mixer to knead the dough for another 10 minutes.
9 - When the dough is ready, it will no longer stick to the sides of the bowl. At this stage, add the chopped chocolate and knead at low speed for 2 more minutes.
10 - Line a baking tray with a silicone mat and transfer the brioche to it. Then, gently push the brioche flat, cover it with plastic wrap and let it proof for 20 minutes. Then, refrigerate the brioche for 2 hours.
Tip: Help the planet by choosing biodegradable food wrap instead of plastic.
11 - Once the dough has proved and chilled, tip it onto a floured work surface (or like us a quality cutting board) and cut it in half.
12 - For the loaf option, portion the dough into 10 2.6oz (74g) pieces using a bench scraper (metal/plastic/wood).
Tip: We love the practicality of this elegant dual-platform digital scale from KitchenAid.
13 - Take each piece and gently knead and roll each one into a tight neat ball.
14 - Grease a loaf pan with baking spray and then tightly arrange the brioche balls to fill the bottom of the pan. Then, cover the brioche with a kitchen towel and let it proof for 2 hours.
Tip: Le Creuset is one of the best brands money can buy. Here, we used this fantastic ceramic loaf pan from Le Creuset and are very happy with it! For more recommended bakeware and cookware, check out our article: "The Best Non-Toxic Pots & Pans: Our Must-Have Cookware List".
15 - For the braids option, portion the other half into 21 1.2 oz (35g) pieces and roll each into 8 in (20cm) long sausage shapes.
16 - Next, take 3 pieces of dough and join them together on one side. Then, gently braid them like you would braid hair.
17 - Transfer the braided dough to a baking tray lined with parchment paper, cover it with a kitchen towel and let it proof for 2 hours.
Egg Wash
1 - Preheat your oven to 320°F (160°C).
2 - Into a small bowl, whisk together one egg yolk with a tablespoon of milk.
Tip: We store our ingredients in these mixing bowls and mini glass bowls from Duralex while cooking. We love Duralex for their quality products and low prices!
3 - Once the brioches have at least doubled in size, brush them with egg wash using a pastry brush (boar/silicone).
4 - Next, transfer the brioches into a 320°F (160°C) oven and bake the loaf for about 40 minutes and the braids for about 20 minutes.
5 - When ready, let them cool down at room temperature for a few minutes. Then, unmold the brioche loaf and place it on a cooling rack.
6 - Enjoy!
Watch our video for more details!
- - - - - - - - - - - - - - - - - - - - - - - - - - -
Disclaimer: baking/cooking times vary according to each appliance. Make sure to always control halfway through for success.
- - - - - - - - - - - - - - - - - - - - - - - - - - -
🎬 Everything we used for this recipe:
🍶 Kitchenware: Coming soon!
🍳 Ingredients: Coming soon!
- - - - - - - - - - - - - - - - - - - - - - - - - - -
Enjoy our content? Support us! 💖
The information provided in this recipe is not nutritional or medical advice. Please read our disclaimer.