


Ultimate Creamy Egg Tart (Flan Parisien)
This post may contain affiliate links. Please read our disclosure policy.
Most commonly called egg tart or egg custard tart, this delicious pastry is also known as Parisian flan or “flan Parisien” in French.
It is made with a sweet pie crust filled with vanilla custard and quite simple to make even though it will take a bit of time.
What we love about this recipe is that you can enjoy these tasty pastries for breakfast, snacks, or dessert.
Bon appétit!
Difficulty: ![]()
![]()
![]()
Prep time: 35 mins / Cook time: 1 hr / Servings: 6 people
- - - - - - - - - - - - - - - - - - - - - - - - - - -
Sweet Pie Crust
8 oz (226g) - Butter
1 cup (115g) - Powdered sugar
2 - Eggs
3 cups (420g) - Flour
⅔ cup (65g) - Almond flour
1 tsp (6g) - Salt
Pastry Cream
4 - Eggs
⅔ cup (150g) - Sugar
⅔ cup (80g) - Corn starch
33.8 fl oz (1L) - Milk
3 - Vanilla beans
- - - - - - - - - - - - - - - - - - - - - - - - - - -
We advise that you prepare all the above ingredients before starting.
You will typically need: a scale, measuring cups, mixing bowls.
Sweet Pie Crust
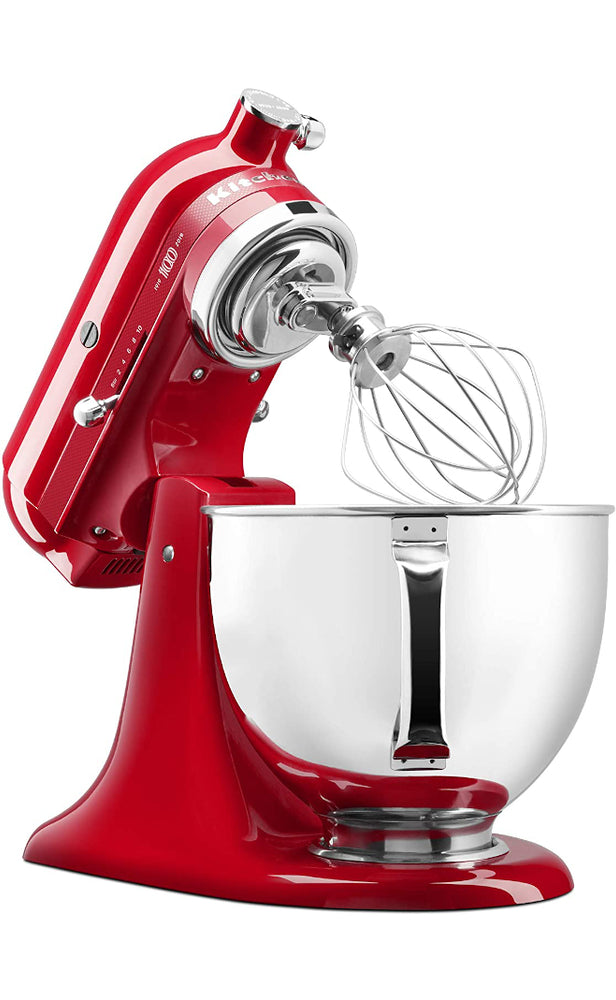
1 - Add the butter and the powdered sugar into your stand mixer bowl. Then, mix on low speed using the paddle attachment.
Tip: The KitchenAid Artisan Design Series and the KitchenAid Professional 600 Series are superstars among stand mixers and will look amazing in your kitchen!
2 - Once the butter becomes creamy, stir in the eggs.
3 - Combine the flour, almond flour, and salt in a large mixing bowl.
4 - Add the three to the dough when the eggs are fully incorporated. Give it a mix until everything is combined. For this recipe, it is important not to over-mix the dough to avoid developing any gluten.
5 - Place the dough between two sheets of food wrap and let it chill in the fridge for at least 30 minutes (and up to 1 hour).
Tip: While the dough is resting, start the pastry cream.
6 - When cold, roll out the dough on a floured surface using a rolling pin (marble/wood), and mold the tart with a rectangular cake ring.
7 - Place the cake ring on a baking tray with a Silpain baking mat.
8 - Roll the dough in bands to facilitate their transfer to the cake ring. Once in position, unroll the bands and cover all four inside walls of the cake ring snugly with dough. Cut off any surplus with a knife (or like us an offset spatula).
Tip: We are showing you the process in this video.
9 - Place the cake ring in the fridge for about 1 hour or in the freezer for about 15 minutes.
Pastry Cream
1 - Preheat your oven to 350°F (175°C).
2 - If you are using fresh vanilla beans like us, start by removing all the seeds from the pod. We are showing you how to do it here.
Tip: We recommend you use a paring knife for this task. We also love this reversible cutting board with integrated hand grips from John Boos.
3 - Pour the milk into a saucepan (or a saucier pan) with a measuring cup, along with the vanilla seeds and pods. Bring it to a boil.
4 - Once it's starting to boil, remove it from the heat, cover the saucepan with a lid (or some food wrap), and let it infuse for 15 minutes.
5 - Meanwhile, crack the eggs in a medium mixing bowl and add the sugar. Then, whisk until the eggs turn into a light yellow color. Next, incorporate the cornstarch and whisk again until everything is well combined.
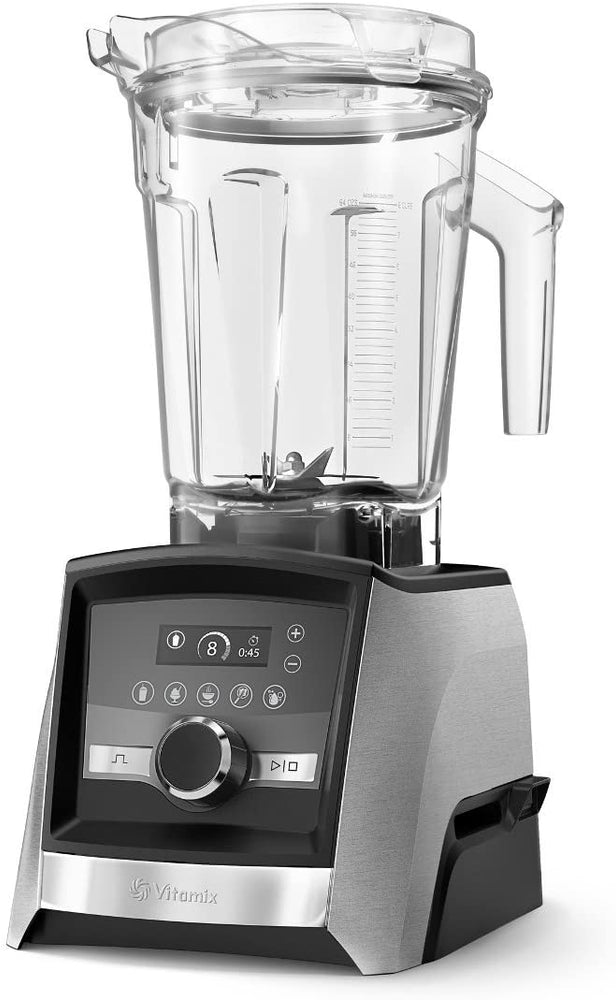
Tip: You may also use a hand mixer. We recommend this 7-speed hand mixer from KitchenAid for its quality and elegant design.
6 - After 15 minutes, remove the vanilla pods from the milk with tongs, and bring it to a second boil.
Tip: Do not throw away the vanilla pods, even if they were already used. There is still a lot you can do with them. Rinse them with clear water and put them aside on a baking tray in a turned-off oven for future use.
7 - After the second boil, pour half of the milk into the eggs. Be ready to whisk right away, you do not want to get scrambled eggs. By doing this, we are tempering the eggs (bringing them up to the milk temperature) so we can obtain a homogeneous pastry cream.
8 - Next, pour all the liquid back into the saucepan and cook the cream over medium heat. Once the first bubbles appear, cook for another 30 to 60 seconds. Make sure to constantly whisk during the cooking process to allow the pastry cream to cook evenly without any lumps.
9 - When ready, remove it immediately from the heat and pour the cream into a container. Cover the container with some plastic wrap.
Tip: The plastic wrap should be directly in contact with the cream, which will prevent a crust from forming due to oxidation.
10 - Chill the cream for at least 10 minutes (and up to 1 hour).
11 - Place the vanilla pastry cream in a piping bag. Fill up the tart you molded and smooth the surface with an icing spatula. We are showing you how in this video.
12 - Bake at 350°F (175°C) for about 1 hour.
13 - When ready, first let the tart cool down at room temperature for about 30 minutes before attempting to remove the mold. Then, place the tart in the fridge for an extra 30 minutes before tasting.
Tip: The cooking time will vary depending on the size of your tart.
14 - Enjoy!
Watch our video for more details!
- - - - - - - - - - - - - - - - - - - - - - - - - - -
Disclaimer: baking/cooking times vary according to each appliance. Make sure to always control halfway through for success.
- - - - - - - - - - - - - - - - - - - - - - - - - - -
🎬 Everything we used for this recipe:
🍶 Kitchenware: Coming soon!
🍳 Ingredients: Coming soon!
- - - - - - - - - - - - - - - - - - - - - - - - - - -
Enjoy our content? Support us! 💖
The information provided in this recipe is not nutritional or medical advice. Please read our disclaimer.