


Gourmet Marble Cake
This post may contain affiliate links. Please read our disclosure policy.
If you are looking for an easy but gourmet cake recipe, you came to the right place!
Who doesn't love a delicious slice of cake dipped in coffee, hot chocolate, or even tea? The smell of freshly baked chocolate cake is one of our favorites and kids love it!
This vanilla and chocolate marble cake is rich, buttery, and very moist! This tasty recipe has everything we expect from a cake and we can't wait for you to try it!
Bon appétit!
Difficulty: ![]()
![]()
![]()
Prep time: 30 mins / Cook time: 60 mins / Servings: 8 to 10 people
- - - - - - - - - - - - - - - - - - - - - - - - - - -
Marble Cake
8.8 oz (250g) - All-purpose flour
1 tsp (6g) - Himalayan salt
2 tsp (12g) - Baking powder
6.7 oz (190g) - Butter
10 oz (285g) - Xylitol
2 - Eggs
9 oz (255g) - Heavy cream
0.7 g (20g) - Cocoa powder
2 tsp (8g) - Vanilla extract
1 tsp (2g) - Vanilla powder
⅛ cup (30g) - Vodka or Rum
Rocher Glaze
3⅛ oz (90g) - Hazelnuts
8 oz (230g) - Milk chocolate
1½ oz (45g) - Cocoa butter
1¾ oz (50g) - Hazelnut oil
1½ oz (45g) - Feuilletine flakes
- - - - - - - - - - - - - - - - - - - - - - - - - - -
We advise that you prepare all the above ingredients before starting.
You will typically need: a scale, measuring cups, mixing bowls.
Marble Cake
1 - Preheat your oven at 340°F (170°C).
2 - Combine the flour, Himalayan salt, and baking powder into a mixing bowl. Next, whisk to combine and set aside.
Tip: We store our ingredients in these mixing bowls and mini glass bowls from Duralex while cooking. We love Duralex for their quality products and low prices!
3 - Add the butter and half of the xylitol to a stand mixer bowl. Then, cream the butter until light and fluffy using the paddle attachment.
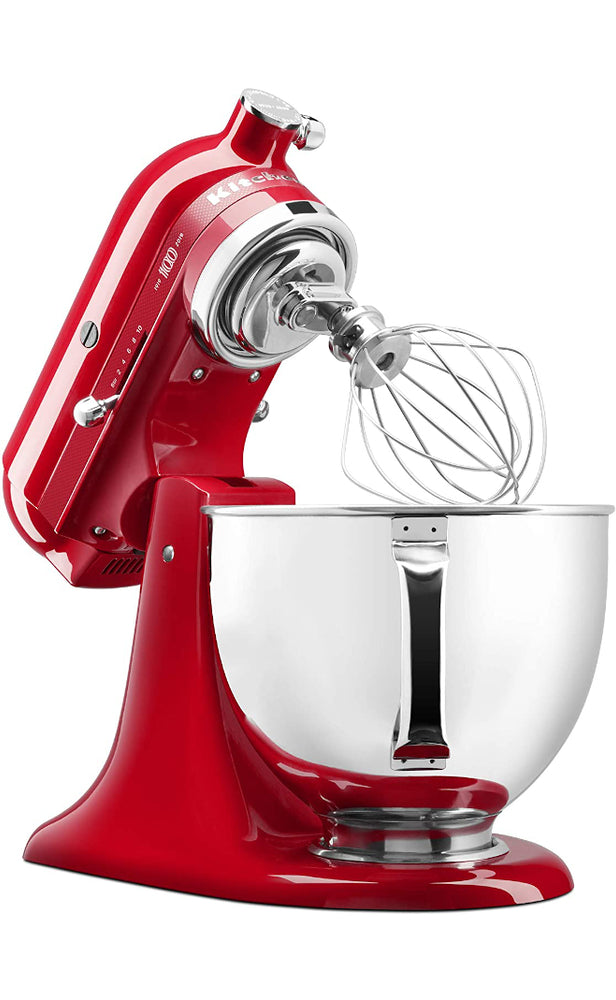
Tip: The KitchenAid Artisan Design Series and the KitchenAid Professional 600 Series are superstars among stand mixers and will look amazing in your kitchen!
For more information, check out our detailed article "The Best KitchenAid Mixers & Blenders".
4 - Scrape down the sides of the bowl using a silicone spatula, add the rest of the xylitol, and mix for a couple of minutes until fluffy.
5 - Crack the eggs into a clean bowl and add them one at a time to the creamed butter while continuously mixing. When you added all the eggs, mix until well combined.
6 - Next, add half of the dry ingredients mixture one spoon at a time, while continuously mixing at low speed.
7 - While still mixing, slowly pour the heavy cream using a pouring jug. Once all the heavy cream is incorporated and well combined, add the rest of the dry ingredients and mix until just combined.
8 - Separate the cake batter in half, add the cacao powder in one half and add the vanilla powder and extract. Mix using a spatula until well combined and set aside.
9 - Grease a loaf pan with butter (or baking spray). Add one layer of cocoa batter, one layer of vanilla batter, and repeat until you use all the batter.
Tip: Le Creuset is one of the best brands money can buy. Here, we used this fantastic ceramic loaf pan from Le Creuset and are very happy with it! For more recommended bakeware and cookware, check out our article: "The Best Non-Toxic Pots & Pans: Our Must-Have Cookware List".
10 - Next, spread the cake batter evenly using an offset spatula. Then, drive the spatula in a zig-zag pattern across the cake to mix the layers together. Next, quickly rearrange the cake batter on top with your spatula and drive the spatula one last time across the loaf pan in a straight line.
11 - Transfer the cake to a 340°F (170°C) oven and allow it to bake for about 60 minutes.
12 - Once baked and still hot, soak the top of the cake with the vodka (or rum) using a pastry brush (boar/silicone). Then, let cool completely into the loaf pan.
Rocher Glaze
1 - Add the hazelnuts to a small blender and blend for a few seconds until they are finely chopped.
Tip: Here, we are using the small blender from the Braun Multiquick Hand Blender.
2 - Add the milk chocolate to a jug (or a measuring cup) and microwave it for about 1 minute (or until completely melted).
3 - Then, place the cocoa butter into a small ramekin and microwave it until melted. You can also melt it in a saucepan on low heat.
Tip: All-Clad is the gold standard for professional quality stainless steel cookware. If you want to learn more about All-Clad, check out our detailed article "The Ultimate Buyer's Guide To All-Clad".
For more recommended bakeware and cookware, check out our article: "The Best Non-Toxic Pots & Pans: Our Must-Have Cookware List".
4 - Add the melted cocoa butter to the chocolate and mix using a silicone spatula until well combined.
5 - Add the hazelnut oil to the chocolate and mix until well combined.
6 - Add the chopped hazelnuts and the feuilletine flakes to the rocher glaze and mix until well combined.
7 - Finally, gently unmold the cake and place it on a cooling rack. Using an offset spatula, carefully spread the rocher glaze on the top and the sides of the cake. Transfer the cake to a plate and place it in the refrigerator for about 1 hour to allow the glaze to set.
8 - Enjoy!
Watch our video for more details!
- - - - - - - - - - - - - - - - - - - - - - - - - - -
Disclaimer: baking/cooking times vary according to each appliance. Make sure to always control halfway through for success.
- - - - - - - - - - - - - - - - - - - - - - - - - - -
🎬 Everything we used for this recipe:
🍶 Kitchenware: Coming soon!
🍳 Ingredients: Coming soon!
- - - - - - - - - - - - - - - - - - - - - - - - - - -
Enjoy our content? Support us! 💖
The information provided in this recipe is not nutritional or medical advice. Please read our disclaimer.