


Gourmet Ferrero Rocher
This post may contain affiliate links. Please read our disclosure policy.
Learn how to make a gourmet Ferrero Rocher with a French chef!
Ferrero Rocher is a chocolate and hazelnut confectionery produced by the Italian chocolatier Ferrero.
We know that these chocolates are already very delicious, but couldn't they be even more gourmet?
Join Ludivine, executive chef at How To Cuisine, and follow our step-by-step recipe on how to make a giant gourmet Ferrero Rocher!
In this gourmet Ferrero Rocher, we find a delicious chocolate hazelnut whipped ganache, hazelnut cream, hazelnut praline paste, rocher glaze, and incredible edible gold wrapping!
We truly can’t wait for you to try this tasty Ferrero Rocher at home!
Bon appétit!
Difficulty: ![]()
![]()
![]()
Prep time: 2 hr / Cook time: 20 mins / Servings: 2 XXL Ferrero Rochers
- - - - - - - - - - - - - - - - - - - - - - - - - - -
Hazelnut Praline Paste
10⅝ oz (300g) - Hazelnuts
5¼ oz (150g) - Sugar
1½ tsp (3g) - Maldon salt
Hazelnut Cream
1 - Egg yolk
1 tbsp (10g) - Xylitol
½ tbsp (9g) - Water
½ tsp (1.5g) - Gelatin powder
2⅜ oz (70g) - Heavy cream
1¾ oz (50g) - Milk
1¾ oz (50g) - White chocolate
1⅜ oz (40g) - Hazelnut butter
Chocolate Hazelnut Whipped Ganache
3.8 oz (110g) - Heavy cream (hot)
7 oz (200g) - Heavy cream (cold)
1⅜ oz (40g) - Hazelnut butter
3¼ oz (90g) - Dark chocolate
Rocher Glaze
3⅛ oz (90g) - Hazelnuts
8 oz (230g) - Milk chocolate
1½ oz (45g) - Cocoa butter
1¾ oz (50g) - Hazelnut oil
1½ oz (45g) - Feuilletine flakes
Edible Gold Wrapping
5¼ oz (150g) - Dark chocolate
½ tsp (2g) - Cocoa butter
- - - - - - - - - - - - - - - - - - - - - - - - - - -
We advise that you prepare all the above ingredients before starting.
You will typically need: a scale, measuring cups, mixing bowls.
Hazelnut Praline Paste
1 - Preheat your oven to 350°F (175°C).
2 - Spread the hazelnuts on a baking tray lined with parchment paper (or a silicone mat) and roast them at 350°F (175°C) for about 10 minutes.
3 - Add the sugar to a saucepan (or like us a saucier pan) and gently melt the sugar over medium-low heat until the caramel is nicely golden brown.
Tip: All-Clad is the gold standard for professional quality stainless steel cookware.
4 - Once the caramel is ready, pour the caramel on a silicone mat and allow it to cool completely. Then, break the caramel into pieces and set it aside.
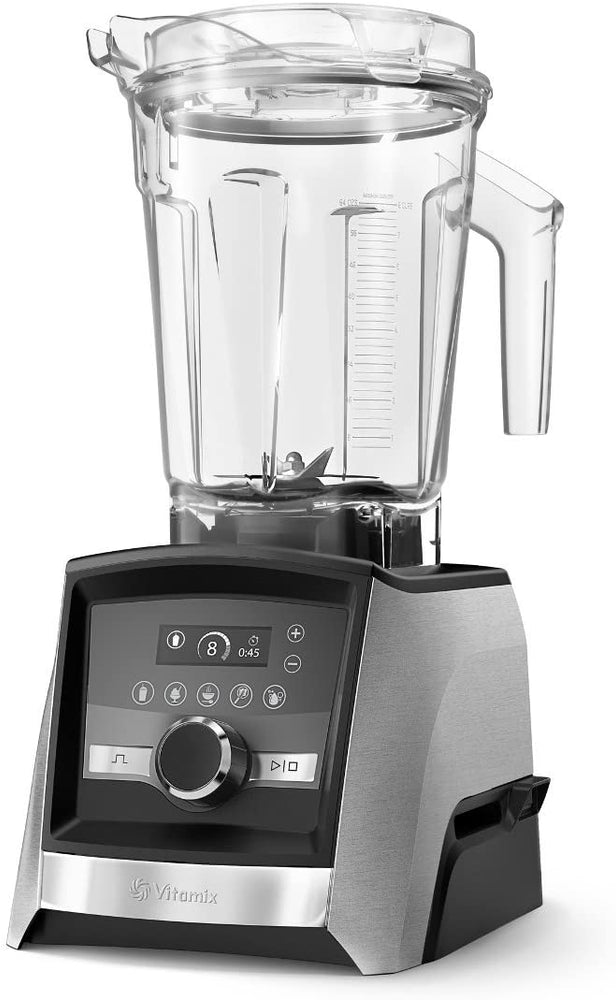
5 - Add the roasted hazelnuts and the caramel into a food processor or a powerful blender such as a Vitamix. Vitamix blenders are by far the best we have ever owned: Vitamix Explorian, Vitamix Professional Series 750, and the new generation Vitamix A3500. Then, blend until completely smooth. It may take about 4 to 6 minutes depending on how powerful your blender is.
Tip: Here, we are using the excellent Breville Sous Chef food processor (you may also use a blender).
6 - Place the praline paste into a piping bag and fill 2 to 4 small silicone mold semi-spheres. Then, place in the freezer for at least 2 hours.
7 - Store the excess hazelnut praline paste in a food container (or a glass jar) at room temperature for up to one week or in the fridge for up to one month. If the oil separates, give it a quick mix with a spoon before reusing it.
Tip: You can also freeze your praline paste for up to 6 months in a jar. Let the praline paste at room temperature thaw before utilization.
Hazelnut Cream
1 - Separate the egg yolk from the egg white and keep the egg white in the refrigerator (up to 4 days) for another recipe.
2 - Add the egg yolk to a mixing bowl and pour the xylitol on it. Then, whisk vigorously until well combined, and set aside.
3 - Pour the water into a mini bowl and add the gelatin powder to rehydrate it. Then, set aside without mixing.
4 - Pour the heavy cream and the milk into a saucepan (or like us a saucier pan) and bring it to a boil.
Tip: All-Clad is the gold standard for professional quality stainless steel cookware.
5 - When the liquid has boiled, slowly pour it over the egg mix and whisk vigorously to temper the egg. Then, return everything to the saucier pan.
6 - Slowly cook the cream over medium-low heat while continuously mixing with a silicone spatula and until it reaches the temperature of 167°F (75°C).
Tip: We recommend using a good kitchen thermometer for accuracy.
7 - Add the white chocolate to a large mixing bowl and pour the cream you just cooked over it. Then, mix with a spatula until the white chocolate is fully melted.
8 - Once the mix is homogeneous, add the rehydrated gelatin and mix until everything is well combined.
9 - Then, gently stir the hazelnut butter into the cream.
10 - Add the cream to a piping bag and fill the same number of silicone mold semi-spheres you filled with praline paste. Then, place a whole hazelnut in the center of each semi-sphere filled with cream and place it back in the freezer for an additional 2 hours.
Chocolate Hazelnut Whipped Ganache
1 - Pour the hot heavy cream into a small saucier pan and bring it to a boil.
2 - Meanwhile, add the chocolate to a mixing bowl and microwave it for about 1 minute (or until fully melted).
3 - Once the heavy cream has boiled, pour half of it on the melted chocolate and stir vigorously with a spatula to emulsify. Then, add the second half and emulsify one last time until the ganache is shiny and homogeneous.
4 - Add the cold heavy cream to the ganache and mix until well combined.
5 - Add the hazelnut butter to the batter and mix one more time. Then, cover with plastic wrap and place in the refrigerator for at least 3 hours.
Tip: Place the plastic wrap directly in contact with the whipped ganache to prevent a crust from forming.
Assembling The Ferrero Rocher
1 - Unmold the praline paste and hazelnut cream frozen semi-spheres and bond one of each together to create a whole sphere, and place it back in the freezer.
2 - Whip half of the ganache with a hand mixer/stand mixer with the whisk attachment/hand blender until soft pic and transfer it into a piping bag.
3 - Fill two larger silicone mod semi-spheres and place the frozen sphere in the center (on the ganache). Then, gently push the ball in the ganache, smooth the edges with a small icing spatula and place the mold in the freezer for at least 2 hours (or until completely frozen).
4 - Unmold the large semi-spheres and place them back in the freezer.
5 - Whip the second half of the ganache and transfer it to the piping bag. Then, fill 2 large silicone mold semi-spheres with it.
6 - Place the first frozen half of the Ferrero Rocher on top of the ganache to create a large sphere. Then, twist it gently to bond the two halves together and place everything back in the freezer for at least 4 hours.
Rocher Glaze
1 - Add the hazelnuts to a small blender and blend for a few seconds until the hazelnuts are finely chopped.
Tip: Here, we are using the small blender from the Braun Multiquick Hand Blender.
2 - Add the milk chocolate to a jug (or a measuring cup) and microwave it for about 1 minute (or until completely melted).
3 - Then, place the cocoa butter into a small ramekin and microwave it until melted. You can also melt it in a saucepan on low heat.
4 - Add the melted cocoa butter to the chocolate and mix using a silicone spatula until well combined.
5 - Add the hazelnut oil to the chocolate and mix until well combined.
6 - Add the chopped hazelnuts and the feuilletine flakes to the rocher glaze and mix until well combined.
7 - Now that your glaze is ready, unmold the Ferrero Rocher balls and place 2 long skewers on a plate lined with parchment paper.
8 - Drive the skewers into the Ferrero Rochers.
9 - Lift each Ferrero Rocher by the skewer and slowly immerse it into the rocher glaze to coat the entire surface.
10 - Gently lift it out of the glaze and let it drip for a few seconds before transferring the rocher chocolate back to the plate.
11 - Once all your chocolates are glazed, gently twist the skewer and remove it. Then, place them in the refrigerator for about 1 hour to allow the glaze to harden.
Edible Gold Wrapping
1 - Melt the dark chocolate in the microwave until completely melted. Then, let the chocolate cool down until the temperature reaches 91°F (33°C).
2 - When the proper temperature is reached, add the cocoa butter and stir until it is well combined and the cacao butter has fully melted into the chocolate.
3 - Pour half of the chocolate on a parchment paper large enough to wrap the Ferrero Rocher and spread it in a thin layer using an icing spatula.
4 - Take a Ferrero Rocher and place it upside down on the chocolate and wrap it tightly with the parchment paper. Then, refrigerate for at least 30 minutes.
5 - When the chocolate is set, gently remove the parchment paper and apply the edible gold powder on the Ferrero Rocher using a clean makeup brush.
Tip: Makeup brushes are denser and softer than pastry brushes, to allow you to have the perfect result when applying powdered food coloring or edible gold powder. Our favorite is this NYX Makeup Brush.
6 - Enjoy!
Watch our video for more details!
- - - - - - - - - - - - - - - - - - - - - - - - - - -
Disclaimer: baking/cooking times vary according to each appliance. Make sure to always control halfway through for success.
- - - - - - - - - - - - - - - - - - - - - - - - - - -
🎬 Everything we used for this recipe:
🍶 Kitchenware: Coming soon!
🍳 Ingredients: Coming soon!
- - - - - - - - - - - - - - - - - - - - - - - - - - -
Enjoy our content? Support us! 💖
The information provided in this recipe is not nutritional or medical advice. Please read our disclaimer.