


Gluten Free Pound Cake
This post may contain affiliate links. Please read our disclosure policy.
Pound cake is rich, moist, and buttery with its golden-brown crust. It’s no wonder it’s a baker’s favorite! So today we are finally sharing with you this delicious sugar-free pound cake recipe!
This incredible gluten-free pound cake is moist and tender, but also dense and buttery, just like in your childhood memories. It will take you less than 10 minutes to make, which makes this recipe even better!
We loved this gluten-free pound cake and can’t wait for you to try it!
Bon appétit!
Difficulty: ![]()
![]()
![]()
Prep time: 10 mins / Cook time: 40 mins / Servings: 1 loaf
- - - - - - - - - - - - - - - - - - - - - - - - - - -
Gluten-Free Pound Cake
2.6 oz (75ml) - Milk
2 bags - Chai tea
5.25 oz (150g) - Butter
5.25 oz (150g) - Gluten-free flour
1 tsp (4g) - Psyllium husk
2 tsp (8g) - Baking powder
4.4 oz (125g) - Xylitol
3 - Eggs
2 tsp (8ml) - Vanilla extract
- - - - - - - - - - - - - - - - - - - - - - - - - - -
We advise that you prepare all the above ingredients before starting.
You will typically need: a scale, measuring cups, mixing bowls.
Gluten-Free Pound Cake
1 - Preheat your oven to 330°F (165°C).
2 - Add the milk to a butter warmer saucepan and bring it to a simmer. Turn off the heat, add the chai tea bags and let them infuse for 15 minutes. Then, remove the tea bags and set the milk aside.
3 - Add the gluten-free flour, baking powder, and psyllium husk into a mixing bowl and whisk until well combined.
Tip: We store our ingredients in these mixing bowls and mini glass bowls from Duralex while cooking. We love Duralex for their quality products and low prices!
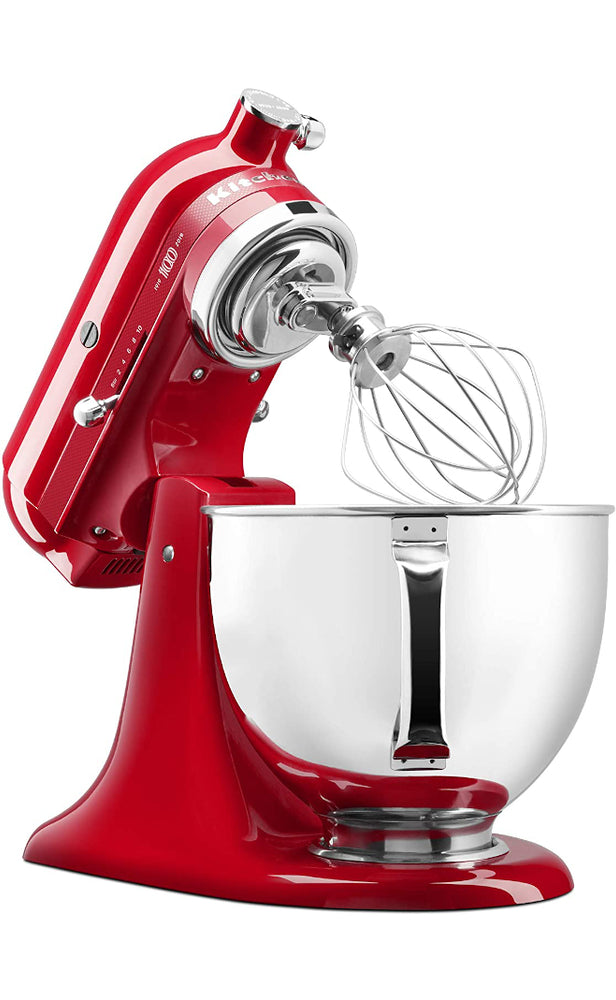
4 - Next, add the butter to a stand mixer bowl and whisk on medium speed until fluffy.
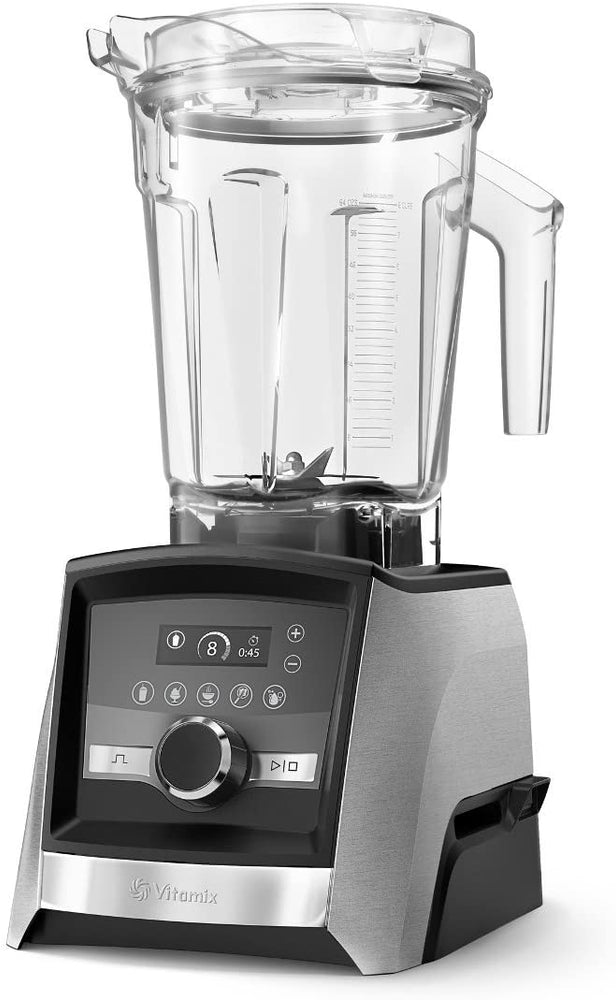
Tip: The KitchenAid Artisan Design Series and the KitchenAid Professional 600 Series are superstars among stand mixers and will look amazing in your kitchen!
For more information, check out our detailed article "The Best KitchenAid Mixers & Blenders".
5 - Add the xylitol to the fluffy butter one half at a time and while continuously whisking. Once you added all the xylitol, whisk until smooth and fluffy.
6 - Crack the eggs into a small ramekin and add them one by one to the cake batter. Then, whisk until fully combined.
7 - Add the vanilla extract and the flour mixture one spoon at a time. Once fully incorporated, pour the milk into the cake batter and whisk until homogeneous.
8 - Grease a loaf pan with grapeseed oil using a pastry brush (boar/silicone) and line the pan with a piece of parchment paper.
Tip: Le Creuset is one of the best brands money can buy. Here, we used this fantastic ceramic loaf pan from Le Creuset and are very happy with it! For more recommended bakeware and cookware, check out our article: "The Best Non-Toxic Pots & Pans: Our Must-Have Cookware List".
9 - Pour the batter into the loaf pan, smooth the top using a silicone spatula, and drive a small knife in the center and across the loaf pan in a straight line.
Tip: We recommend you use a paring knife for this task. We love Japanese knives and recommend this quality kit from GLOBAL for home and professional chefs. We also love this reversible cutting board with integrated hand grips from John Boos.
10 - Then, place the loaf pan into a 330°F (165°C) oven and bake for about 40 minutes. Once baked, let the cake cool completely before removing it from the loaf pan.
11 - Enjoy!
Watch our video for more details!
- - - - - - - - - - - - - - - - - - - - - - - - - - -
Disclaimer: baking/cooking times vary according to each appliance. Make sure to always control halfway through for success.
- - - - - - - - - - - - - - - - - - - - - - - - - - -
🎬 Everything we used for this recipe:
🍶 Kitchenware: Coming soon!
🍳 Ingredients: Coming soon!
- - - - - - - - - - - - - - - - - - - - - - - - - - -
Enjoy our content? Support us! 💖
The information provided in this recipe is not nutritional or medical advice. Please read our disclaimer.