


Almond Frangipane With Inverse Puff Pastry
This post may contain affiliate links. Please read our disclosure policy.
Discover our tasty frangipane, made with inverse puff pastry and some unique almond cream!
Every January in France, it is customary to eat a frangipane. Family and friends gather around the table to enjoy a slice of this delicious pastry until one of the guests finds the lucky charm and becomes the queen or king!
Bon appétit!
Difficulty: ![]()
![]()
![]()
Prep time: 2 hr / Cook time: 50 mins / Servings: 8-10 people
- - - - - - - - - - - - - - - - - - - - - - - - - - -
Inverse Puff Pastry
7.5 oz (215g) - Flour
2 tsp (10g) - Himalayan salt
3 oz (90ml) - Water
2.3 oz (65g) - Butter
15.8 oz (450g) - Butter (for folding)
8 oz (225g) - Flour (for folding)
Almond Cream
1.16 oz (33g) - Butter
2.8 oz (80g) - Almond flour
1.16 oz (33g) - Butter
1.75 oz (50g) - Erythritol
2 tsp (10g) - Corn starch
1 - Egg
2 tsp (10ml) - Almond milk
¼ tsp (1.5ml) - Almond extract
4 oz (115ml) - Heavy cream
Egg Wash
1 tbsp (15ml) - Milk
1 - Egg yolk
- - - - - - - - - - - - - - - - - - - - - - - - - - -
We advise that you prepare all the above ingredients before starting.
You will typically need: a scale, measuring cups, mixing bowls.
Inverse Puff Pastry
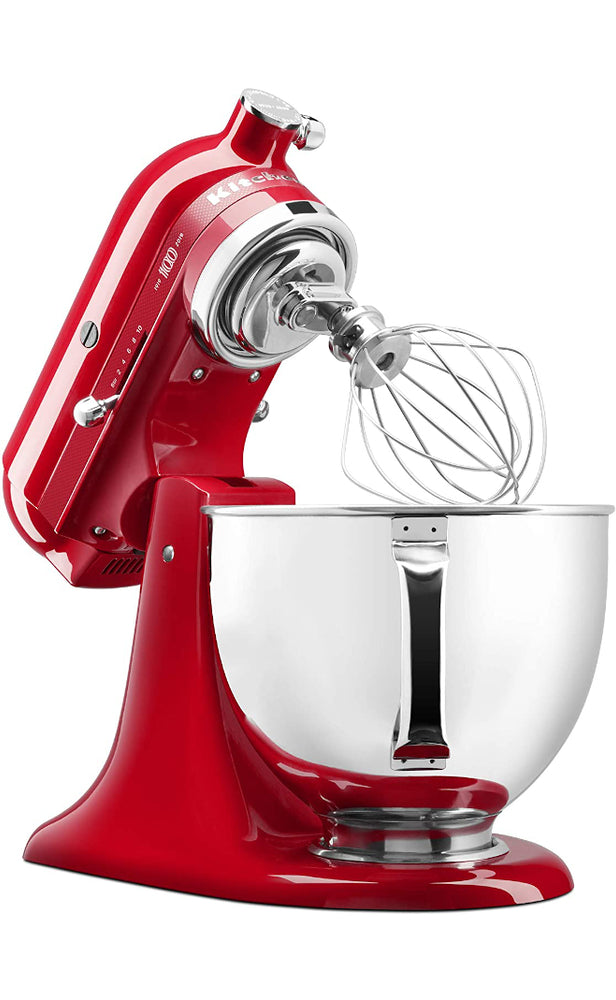
1 - Combine the 15.8 oz (450g) of butter and the 8 oz (225g) of flour into a stand mixer bowl. Then, mix until smooth and well combined using the paddle attachment.
Tip: The KitchenAid Artisan Design Series and the KitchenAid Professional 600 Series are superstars among stand mixers and will look amazing in your kitchen!
Check out our detailed article: "The Best KitchenAid Mixers & Blenders" for more information.
2 - Transfer the butter mixture between 2 sheets of parchment paper and flatten it using a rolling pin to shape a 15.8 x 7.9 in (40 x 20 cm) rectangle. Then, wrap it in food wrap (or parchment paper) and refrigerate it for about 2 hours.
Tip: Help the planet by choosing biodegradable food wrap instead of plastic :)
3 - Meanwhile, combine the flour, salt, butter, and water in a clean stand mixer bowl. Knead the dough for about 5 minutes using the hook attachment. Next, flatten it into a 7.9 x 5.9 in (20 x 15 cm) rectangle using a rolling pin (marble/wood), wrap it in food wrap, and refrigerate it for about 2 hours.
4 - Flour your work surface generously, roll out the large butter rectangle slightly to make it a little bit longer.
5 - Place the dough in the middle of the butter rectangle. Then, fold over both sides like an envelope and press them down to completely seal the dough.
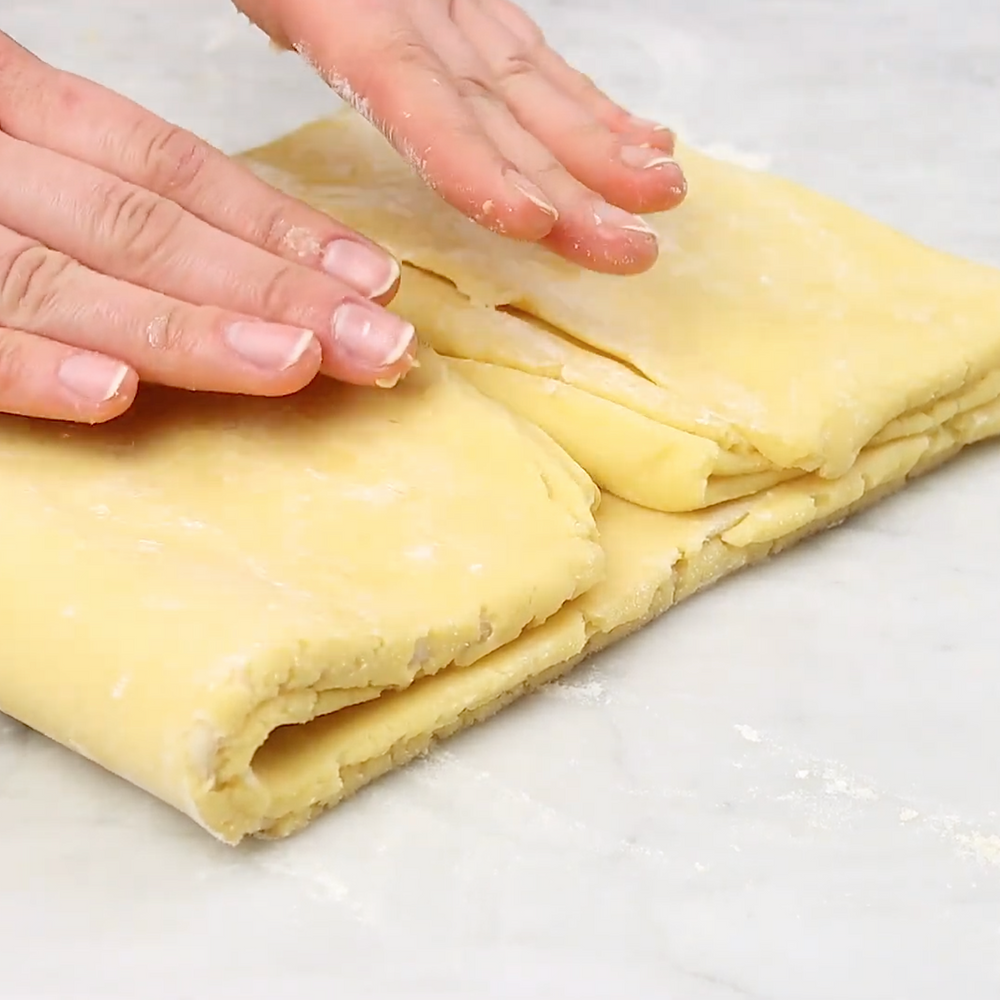
6 - Roll out the dough into a longer rectangle, about ¼ inch thick. Then, fold the bottom third of the dough into the center and fold the top third on top of the bottom third, so that there are 3 layers of dough. Cover the dough in cling wrap and refrigerate it for 2 hours.
Tip: This step is also called the "lamination" process.
7 - After the dough has chilled, remove it from the fridge to do a double fold (also called "book fold"). Flour your work surface, roll out the dough, and fold each side over to meet in the middle. Then, fold one side over to meet the other side. Once folded, wrap up the dough and return it to the fridge for another 2 hours.
8 - Repeat step 7 three more times, letting the dough rest at least 2 hours in-between each fold.
Almond Cream
1 - Place 1.16 oz (33g) of butter into a small saucepan over medium heat and let it cook until it turns brown. Then, remove it from the heat and let it cool down. We call it "brown butter".
Tip: All-Clad is the gold standard for professional quality stainless steel cookware. If you want to learn more about All-Clad, check out our detailed article "The Ultimate Buyer's Guide To All-Clad".
For more recommended bakeware and cookware, check out our article: "The Best Non-Toxic Pots & Pans: Our Must-Have Cookware List".
2 - Spread the almond flour on a baking tray lined with parchment paper and toast it in a 400°F (200°C) oven for about 8 minutes.
3 - Next, cream the butter and erythritol in a stand mixer bowl using the paddle attachment. Then, add the following ingredients one by one while still mixing: cooled brown butter, corn starch, toasted almond flour, egg, almond milk, and almond extract. Allow mixing until fully combined.
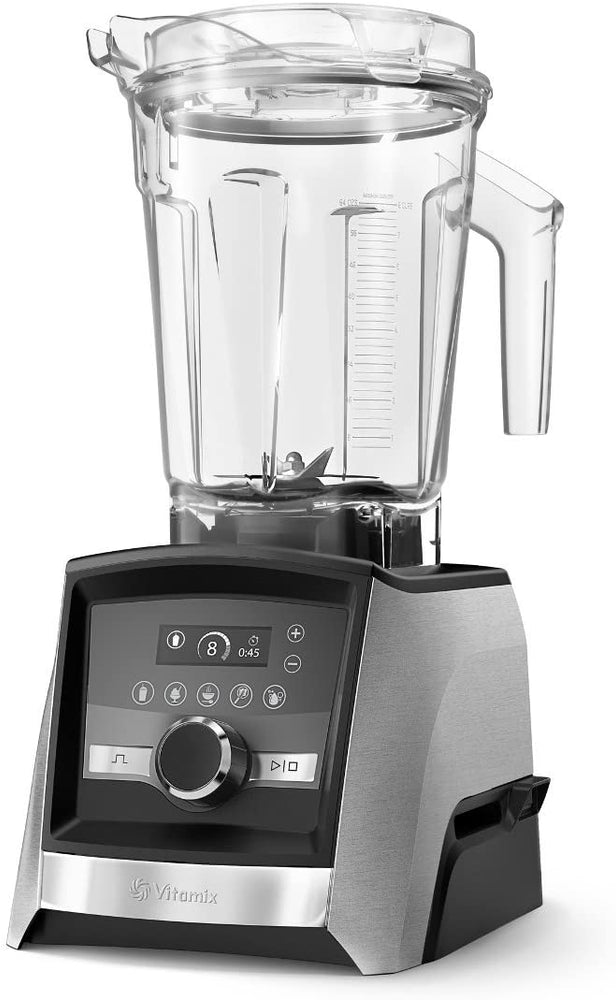
4 - Then, whip the heavy cream using an electric mixer, add it to the previous mixture and mix them together until well combined. Transfer the almond cream into a piping bag and refrigerate it until needed.
Tip: Our must-have hand blender is the Braun Multiquick Technology.
Shaping The Frangipane
1 - Flour your work surface and roll out the dough (about 0.19 in / 5 mm thick). Then, cut 2 large disks of dough using a cake ring as a guide.
2 - Pipe the almond cream in the middle of one of the disks, making sure to leave about a 1-inch gap on the side of the disk.
3 - Brush the gap with egg wash using a pastry brush (boar/silicone), place the other dough disk on top of the cream and gently press down the edges of the two disks together to seal the cream inside. Then, refrigerate it overnight.
The next day...
Egg Wash
1 - Preheat your oven to 365°F (185°C).
2 - Into a small bowl, whisk one egg yolk together with a tablespoon of milk until fully incorporated.
3 - Brush the frangipane with egg wash using a pastry brush (boar/silicone). Next, mark the dough with the back of a knife, and bake it at 365°F (185°C) for about 50 minutes. Once ready, let it cool at room temperature for a few minutes (or as long as you can wait!).
4 - Enjoy!
Watch our video for more details!
- - - - - - - - - - - - - - - - - - - - - - - - - - -
Disclaimer: baking/cooking times vary according to each appliance. Make sure to always control halfway through for success.
- - - - - - - - - - - - - - - - - - - - - - - - - - -
🎬 Everything we used for this recipe:
🍶 Kitchenware: Coming soon!
🍳 Ingredients: Coming soon!
- - - - - - - - - - - - - - - - - - - - - - - - - - -
Enjoy our content? Support us! 💖
The information provided in this recipe is not nutritional or medical advice. Please read our disclaimer.